


When I first started my podcast The Jasmine Star Show, I had NO idea where to begin.
*Like, why can’t I just record with voice memos on my iPhone and it sound like I’m featured on NPR?*
I felt so overwhelmed with the unknown… What to use, how to use it, and where to begin.
In fact, podcasting was the LAST thing I wanted to add to my business!
But eventually with the help of my podcast editor Addison, my Creative Director Tami and podcast manager Kristi who both have podcasts, I found the equipment I need.
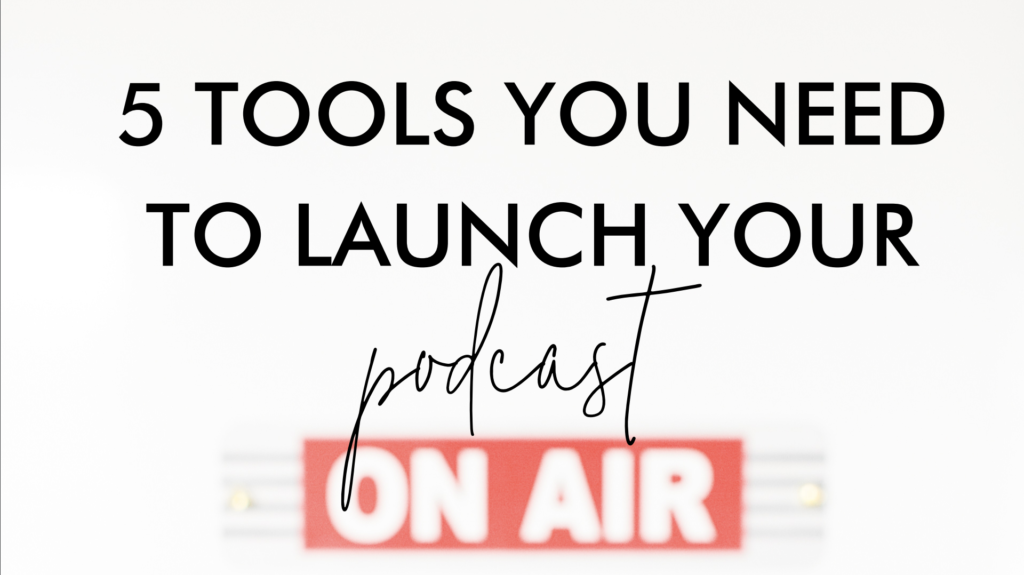
If you’re getting ready to launch your show, here are the 5 tools I use so my podcast sounds like it was recorded in a professional studio (instead of in my bedroom closet!).
1. HEiL sound PR-40 Dynamic Studio Microphone
Someone told me your podcast is only as successful as it sounds. I believe this microphone helped the Jasmine Star Show hit over 100,000 downloads in less than one month!
I love this microphone because it sounds studio-quality without breaking the bank or being too complicated to use *especially for someone like me, who doesn’t claim to be an audio expert!*.
*Pro tip: Turn it sideways and talk directly into the flat top part of the microphone for the best-sounding audio.*
2. EJT Pop Filter
From my experience, this is the best and *cheapest* investment you can make in ANY podcasting set-up.
At only $12, this pop filter helps eliminate plosives (the loud noises caused by puffs of air hitting the microphone when you say “P’s” “B’s” and “T’”s).
*Pro tip: Place this pop filter up against the top of your microphone and speak as close as you can to it for best results.*
3. Focusrite Scarlett 2i2 USB Audio Interface
With the microphone listed above, you need an audio interface to be the “middleman” between the microphone and your computer.
Simply plug the microphone in to this interface, plug the USB cable on the interface into your computer, then say a few “test” words to adjust the levels (like the volume, for example).
*Pro tip: When testing the levels, be sure to test the entire range of your vocals, including laughing, and speaking softly and loudly.*
4. GarageBand Recording Software
I record my podcast using GarageBand, which is a free app found on Apple Computers.
After I record the podcast on GarageBand, I send it to my podcast editor to edit and enhance the audio using Pro Tools, which comes with the audio interface linked above. *See, I gotchu boo!*
*Pro tip: Before recording, click the small down arrow in the top center of GarageBand next to where it says “C Major” and change the display mode to “Time” to track how long you have been recording. Then, un-check the “1234” and “Click” settings to the right so there isn’t a metronome playing while you are podcasting!*
5. Apple AirPods
When podcasting, I use Apple AirPods so I can hear myself and my guests clearly.
Especially when recording interviews, it is important to wear headphones so your microphone does not pick up the other person’s audio, causing an echo (which can be difficult to edit out later!).
*Pro tip: Although you can use any earbuds lying around your house, I like bluetooth AirPods for podcasting because they do not ruffle against my shirt, causing white noise in my microphone.*
Well friend, there you have it: 5 tools you need to launch your podcast.
With 700,000 downloads and counting, I’m no longer a podcast newbie but these products are still going strong for the Jasmine Star Show.
If this post was helpful, be sure to log in to your Amazon account and follow my storefront for more products that have earned my 5 *Jasmine* star rating.
Is there anything else you’d like to see on my Amazon store? Shoot me a DM at @jasminestar on Instagram and let me know!
Now that you have the right tools to launch your podcast, I can’t wait to see you at the top of the iTunes charts.
Happy podcasting, hustler!
")


")